Epson Brightlink 1485 Fi - Wireless Projection (Laptop or iPad)
This article will cover
- How to wirelessly connect your Mac laptop or iPad to the BrightLink 1485 Fi Projector
- How to wirelessly project your device screen or application window to the BrightLink 1485 Fi Projector
You will need
- A Mac laptop running recent version of macOS
OR
- A recent model iPad
AND
- A room with a BrightLink 1485 Fi Projector installed
1 - Install the software
- If you want to connect your laptop to the BrightLink wirelessly, you need to download and install the Epson iProjection App:
- Download and install the iProjection App (Mac)
- Only install this for wireless connection to the BrightLink
- It works for macOS 10.14, 10.15 and 11.x
- For Windows 10, use this installer: iProjection V2.40
- Once installed, open the app and follow the steps in the next sections below
- The connection process takes about 5 minutes each time
2 - Wireless connection with Mac laptop
- Open the iProjection app, select the Advanced Connection option and then select the OK button:
- Press the LAN button on the BrightLink’s remote control and note the IP address of the projector that is displayed on the whiteboard:
- Select Manual Search from the menu on the left, then type the IP address from the LAN menu into the search field under Projector List - Manual search, then select the Search button:
- The projector should appear in the Projector List with Standby showing in the Status column:

- Select the Register button to save the projector in the app’s Projector List, then select the Join button to connect to the projector:

- Use the play, stop and pause buttons on the left to project, stop projecting and freeze the projection, respectively
- Use the Leave button on the right to end the wireless projection:

3 - Wireless connection with iPad
- If you want to connect your iPad to the BrightLink wirelessly, you need to make a Service Desk request to have IT install the Epson iProjection App for iOS
- Once installed, the app icon will appear on your iPad screen:

- Press the LAN button on the BrightLink’s remote control so that the QR code and the IP address are displayed on the whiteboard:
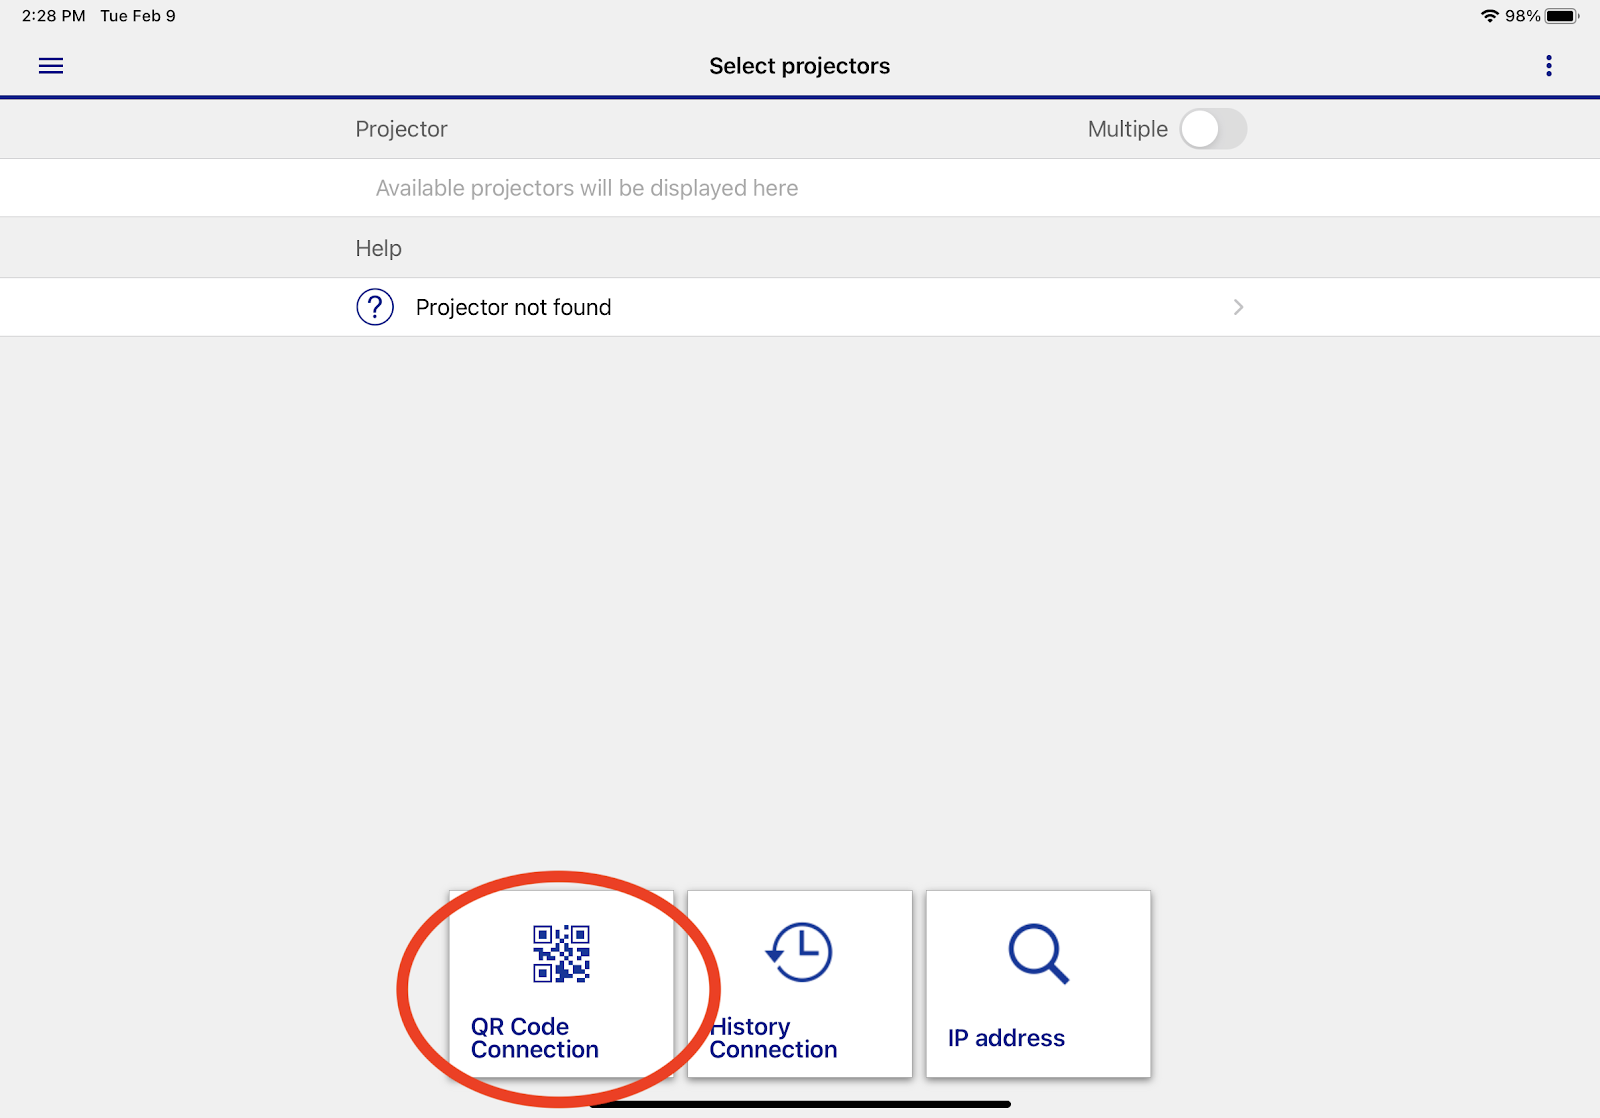
- Open the iProjection app and select the QR Code Connection button:
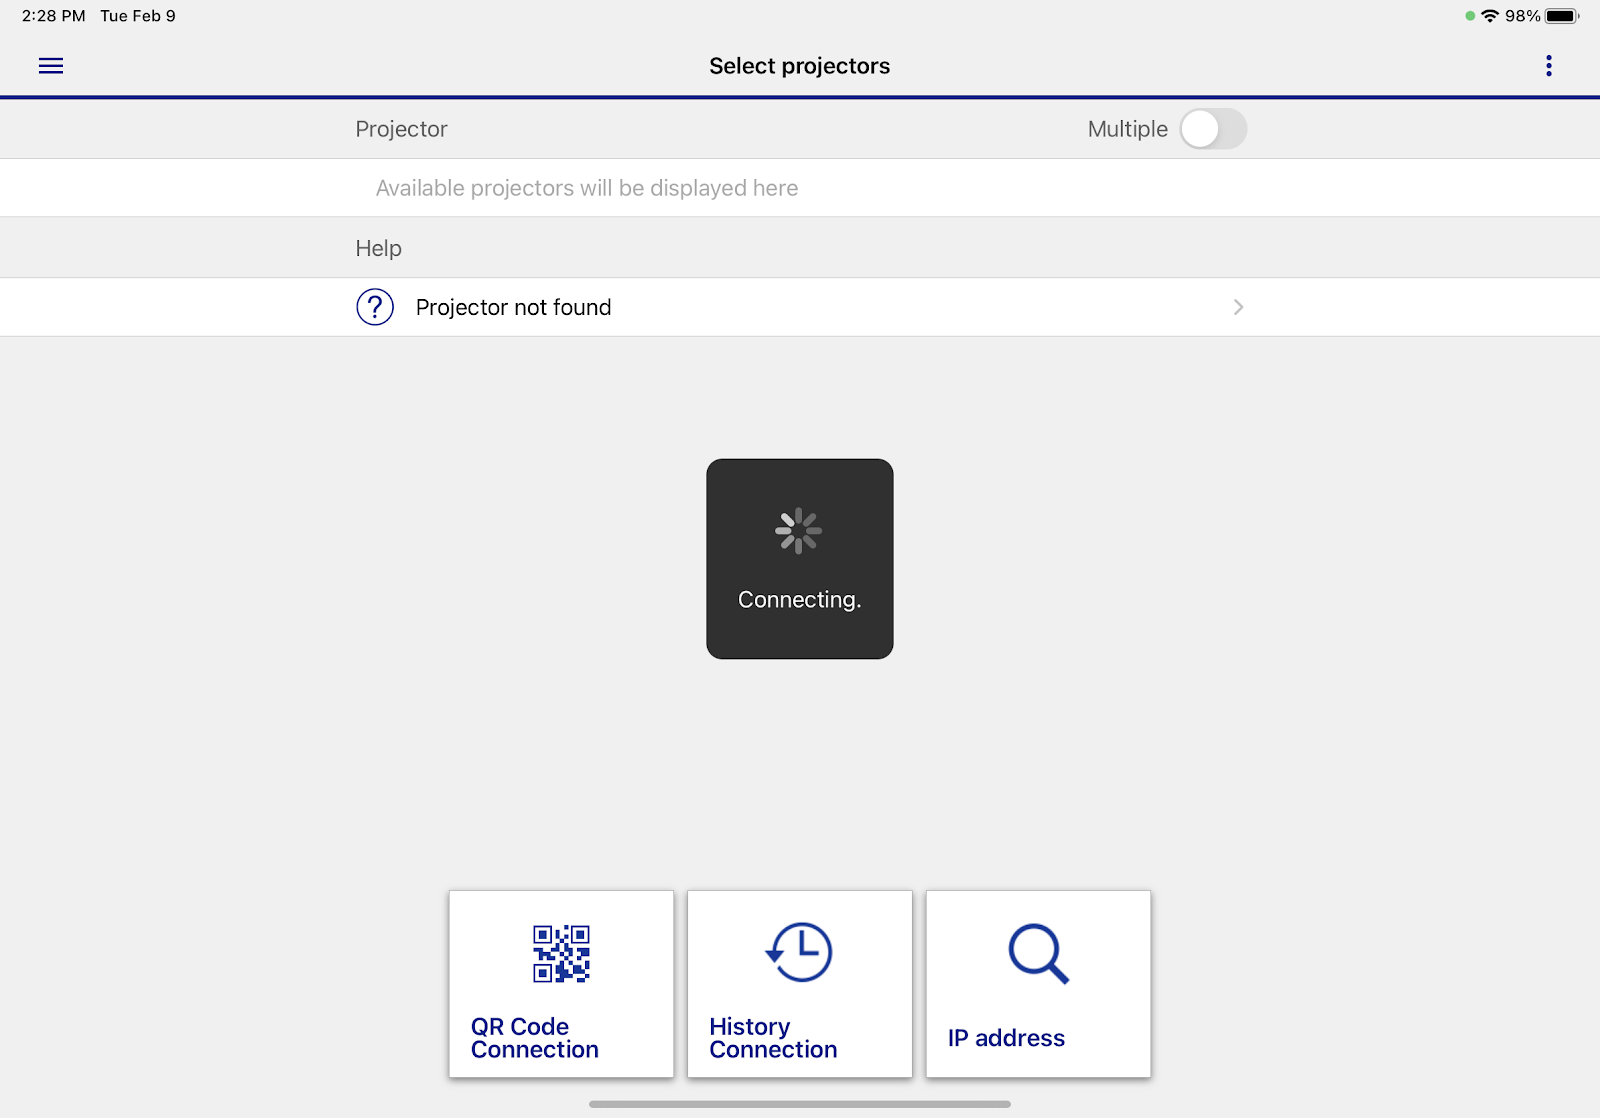
- The app will indicate it’s connecting to the BrightLink:
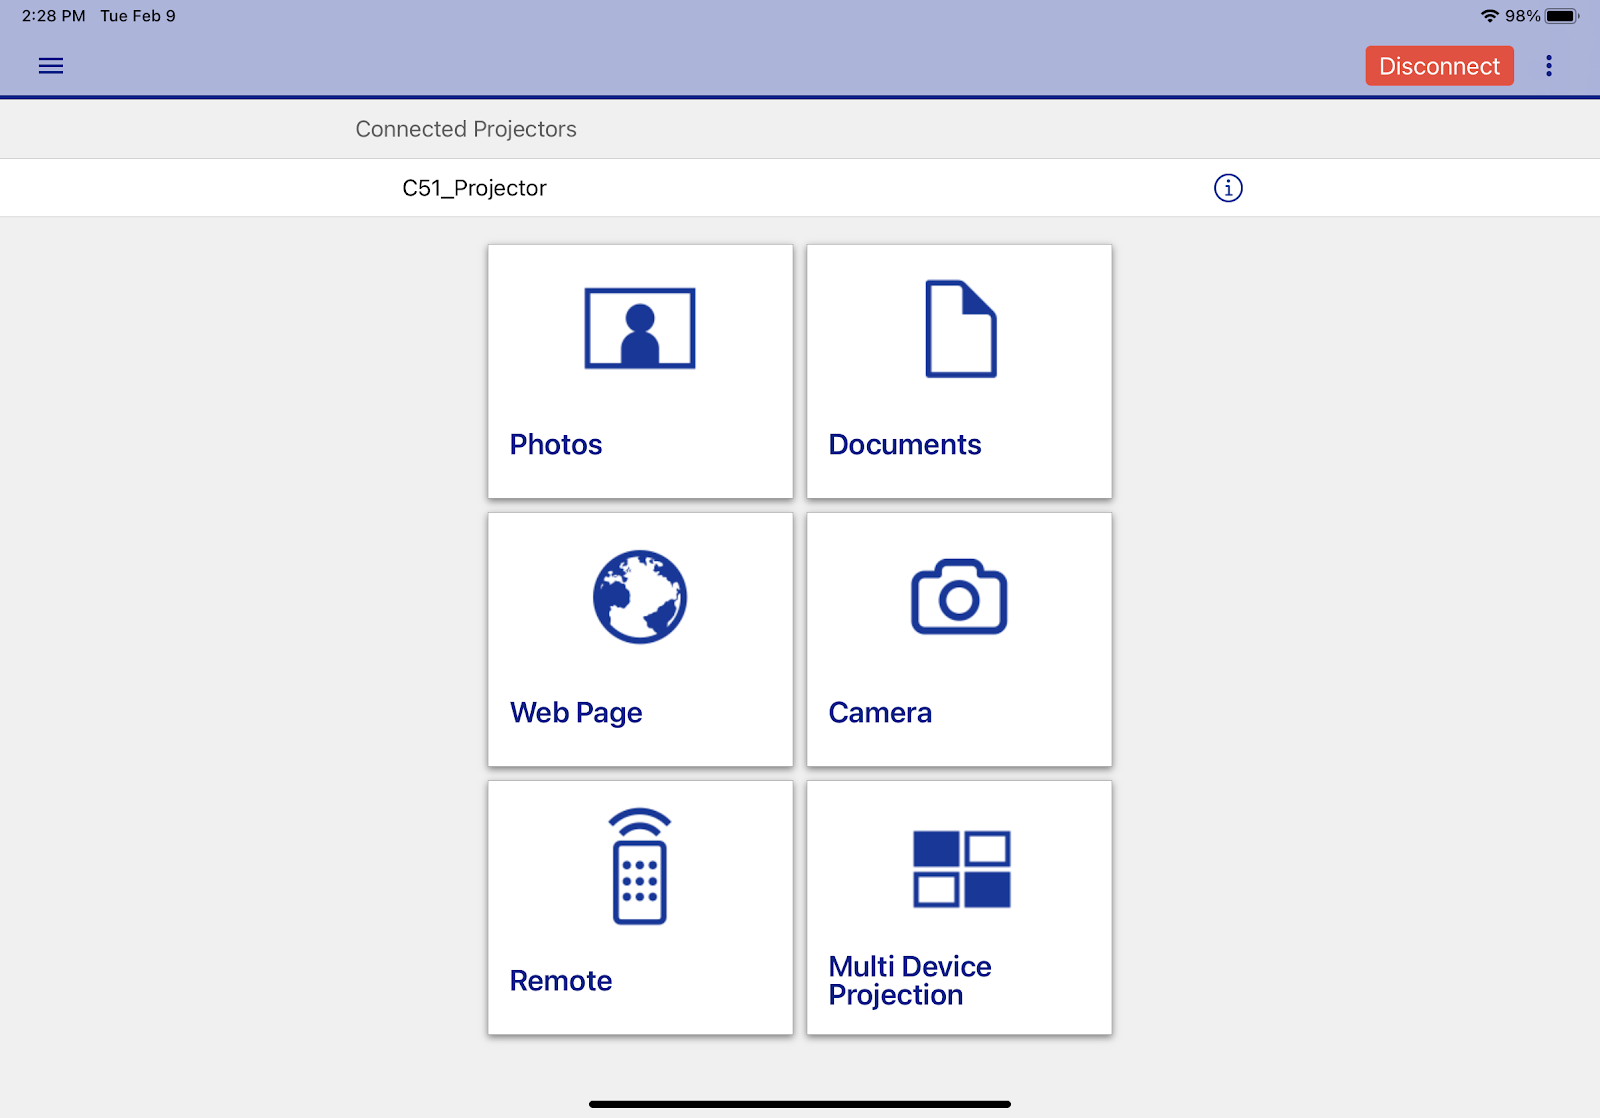
- Once connected, the screen below will appear - you can use the six buttons in the centre to project different types of iPad content to the whiteboard:
- 3.7 With iProjection for iPad, you can move freely around the classroom while projecting the iPad content onto the whiteboard via the BrightLink projector

NOTE: The iPad sound volume must be controlled with the BrightLink's remote control; the iPad's volume control won't have any effect
- To stop projecting the iPad, select the red Disconnect button at the top right:

Additional resources
Official documentation
Promo Video (2 min)
Quick Overview Video (5 min)
Video Tutorials (34 videos)
Easy Interactive Tips (5-page PDF)
Easy Interactive Guide (60-page PDF)
BrightLink User Guide (386-page PDF)
iProjection Guide for Laptops (122-page PDF)